 I was looking for a simple, cheap, and cute thank you for the girls at work who were throwing me a baby shower. I wanted something useful/yummy that they could take home with them. I usually bake cookies, but lately I’ve been really short on time, and who doesn’t like chocolate?! I saw this idea over at The New Domestic. Their version is kinda fancier, but I like my simple version using things I had on hand.
 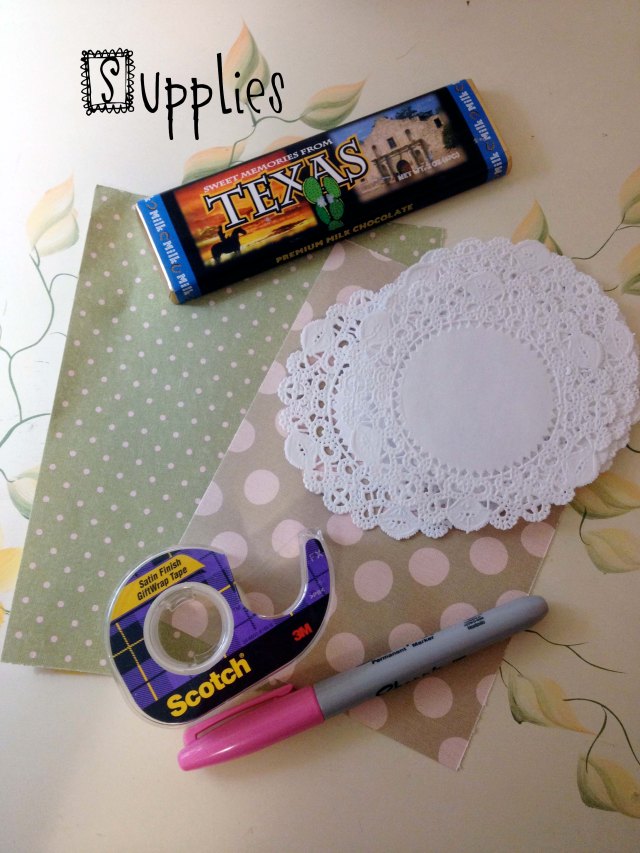 I used things I already had on hand and only had to buy the chocolate bars. Look through your supplies and be creative!
Supplies:
- scrapbook paper (fabric would be cute too)
- clear tape (you could try glue, but I didn’t want to wait for it to dry)
- marker (stickers would be cute)
- paper doilies (you could also use ribbon, yarn, washi tape, stickers…)
- something to cut with
- chocolate bars wrapped in foil and removable label (these were actually very hard to find. but most specialty chocolates are still wrapped in foil)
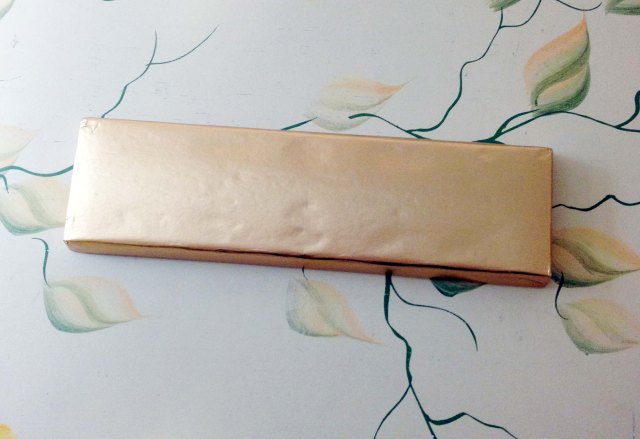 Step 1: Get your chocolate naked!
Be very careful removing the label, mine was glued to the foil a bit.
 Step 2: Measuring
Flip your scrapbook paper over so you don’t mark on the pretty side. Use one of the chocolate labels and just trace around or make marks for cutting.
 Step 3: Cutting
I have this nifty little paper cutter from when I made our wedding invites, but a ruler and scissors works (or just trace and cut free hand on the line).
 Step 4: Tape and Fold
Lay your chocolate face down on your scrapbook paper, fold an edge over and tape somewhere near the center on the back. Pull the paper tight to get a crisp edge and tape the other side down.
 To get a crisp edge, run your fingers down the sides and crease the paper with the edge of the chocolate (just like wrapping a present).
 Step 5: Decorate
Using these little paper doilies, I measure where the best spot would be to write.
 I just used my sharpie and wrote a quick thanks in the center.
 Next, I just taped the edges on the back.
 And voila! All finished!

